Panasonic LUMIX S5II/S5IIX Color Profiles
Panasonic LUMIX S5II/S5IIX Color Profiles
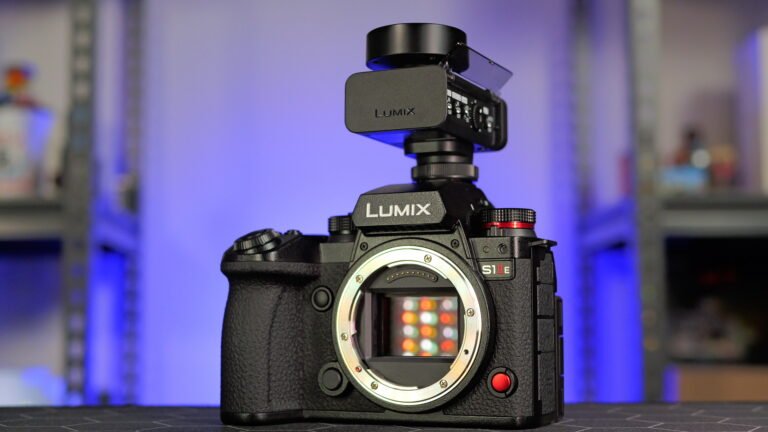
This article guide will explain everything you need to learn about the color profiles inside the Panasonic S5II and S5IIX. The S5II camera has several great color picture profiles in the Panasonic Lumix DC-S5II. The S5II and S5IIX have the same color profiles, picture profiles, and color science.

Additionally, the S5II and S5IIX have full VLOG installed. VLOG offers far more dynamic range than regular color profiles, so it’s preferred for situations that require it.
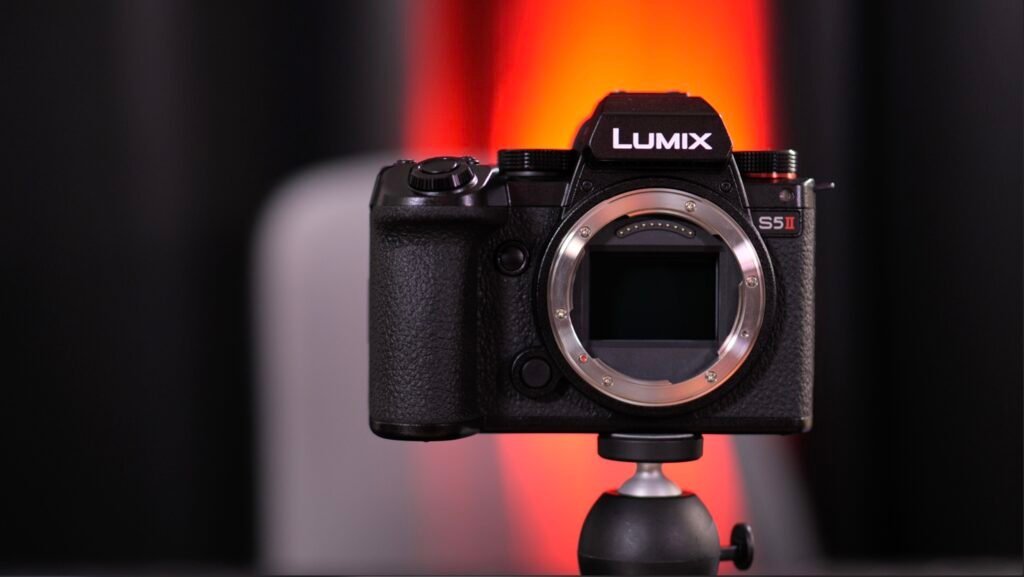
Getting great results from the Panasonic S5II is easy, thanks to the great color science and color profile options. This guide will help you understand the differences between the S5 color profiles with image examples. Also, check out my full Panasonic LUMIX S5II review if you haven’t ordered one yet.
If you own an original S5, check out my Lumix S5 color profile guide.
Below is my video explanation of the picture profiles on the Panasonic Lumix S5II and S5IIX
Subscribe to my YouTube channel
STANDARD
The Standard profile is underrated and works great for video and photos. By default, the Panasonic Lumix DC-S5II is set to the standard color profile in both video and photo modes.
The standard profile is an easy way to get a great straight-out-of-camera profile. In addition, the standard works well for indoor and outdoor filming. Unfortunately, if you hope to grade the footage in editing, the Panasonic standard picture profile has too much contrast. However, the idea of this profile is great results with no post-production adjustment.
The Standard color profile is a good choice for traditional videography. Additionally, this profile will match the ai photo settings on the camera very well. Therefore, this is a good choice for a great straight-out camera image that keeps it simple.
VIVID
Vivid is a profile that increases color saturation to its maximum. This profile is great for shooting something colorful, like gardens, landscapes, or kid toys.
However, the Vivid color profile is best for anything other than people and animals as it over-saturates skin tones more than any of the other Panasonic picture profiles.
NATURAL
The Natural color profile is the most used by default for great out-of-camera colors. The main reason Natural is the choice on the Panasonic S5 is because of the great and accurate skin tones. This works great for video and photography when the camera is set to P mode.
This is my favorite profile for shooting videos. You can easily change this profile in the S5II/S5IIX camera settings or post-production.
LUMIX S5II NCLAS N
NCLAS N is a very flat profile except for the emphasized highlights. This is a flatter profile overall than other well-known and used video profiles. This has a retro or vintage look but is not over the top. Grading this profile is possible, but as mentioned, keep an eye on the highlights.
FLAT
The flat is fast becoming my favorite profile that can be graded in post-production to achieve the desired look. In the Panasonic Lumix DC-S5, I much prefer this over the new Cine-D2 picture profile. The flat profile is not as bright in the highlights as the L.ClassicNeo or Standard picture profiles and will work great for color and saturation adjustments in editing. For those using Cine-D, give the flat profile a shot because you’ll love it.
LANDSCAPE
The landscape picture profile is great for a strong contrast, and highlights look. However, comparing Landscape to Flat, you’ll notice how emphasized the shadows are. While this picture profile can pop for outdoor filming and photography, the details in the shadows are somewhat lost due to the increased levels.
The landscape picture profile also offers an increased color saturation similar to the Vivid profile but not quite as pronounced. Thankfully, each of these profiles can be adjusted and customized to you’re liking.
PORTRAIT
The Portrait color profile on the S5II is decent. This is very similar to landscape, except the blacks are not crushed by default giving you a slightly flatter image overall. Skin tones and overall accuracy are improved over many other picture profiles, giving you a great look and feel straight out of the camera. This profile is great for portrait photography and talking headshots in video mode.
MONOCHROME (Mono)
The Monochrome picture profile in the Panasonic S5 is the first desaturated black-and-white profile. This Monochrome profile has less contrast than the L.Monochrome option and gives you more options in post-production. I never understood why cameras had their black-and-white profiles when you can do it in editing, but it’s a solid profile that delivers the Monochrome look.
L.MONOCHROME (LMono)
This is very similar visually to the Monochrome (mono) picture profile, but Panasonic has increased the levels giving it a darker look in the shadows. This profile is very usable but will crush the black in the image more than monochrome (mentioned above). This is a desaturated/black-and-white picture profile.
L.MONOCHROME D (LMONO D)
Unlike the previous profile, LMONO D retains more information in the highlights and saturates the image further. As a result, shadows are darkened, and skin tones appear different from the LMono option.

L.MONOCHROME S (LMONOS)
The LMONOS Profile reduces contrast and saturation and favors the highlights. Use this if you want more control over your shadows in post production.
CINE-LIKE D2 (CNED2)
Cinelike D2 is a very popular video profile for getting flat footage that lends itself to grading and adjustment in post-production. Sadly, unlike the GH5, the CNED2 does some weird things to skin tones and almost shifts the color far cooler.
Video shooters should check out the Natural and Flat profiles ahead of this one, thanks to the improved skin tones and post-production flexibility. In addition, the CNED2 profile gives you far more dynamic range than most other profiles, especially when shooting in high dynamic range conditions.
When shooting anamorphic, I opt for this color profile. It saves a lot of post-production color-grading work if you want to achieve a cinematic look.
CINE-LIKE V2 (CNEV2)
The Cinelike V2 is one of my favorite out-of-camera profiles for shooting video with the Panasonic Lumix S5II. It made the out-of-camera image far more usable on my skin tones. However, one downside to the CNEV2 profile is that it adds more saturation and contrast, allowing far less ability to move after filming.
However, if you nail this profile in camera, you won’t need to touch the footage in editing. This is my go-to profile for recording web content. Remember, you can easily adjust the saturation, contact, highlights, and roll-off in-camera, to experiment and find what works for you.
The image below is a photo with the default setting. I recommend removing some contrast and saturation from this profile for serious video work or using CNED2.
LIKE709/709L
The 709L profile is another favorite for getting great results with little grading. I find this profile a tad strange on skin tones, but people love it for video work.
Like709 can only be adjusted in Hue, Sharpness, Saturation, and noise reduction. I prefer Flat, CNED2, and Natural over 709, but it’s a personal choice.
VLOG
The Panasonic S5 can provide 14+ stops of dynamic range thanks to the VLOG color profile. This color profile is perfect for grading and matching footage from other Panasonic or Varicam camera profiles.
Filmmakers love having this flat profile for video production work and matching shots under different conditions. If you want the most dynamic range out of the sensor, this is the best color profile to choose.
REAL-TIME LUT
Real-Time LUT offers a way to bake in a LUT using VLOG while filming. This is a huge workflow upgrade over applying the LUT in editing. In addition, this option allows you to customize the sharpness and noise reduction in the S5II/S5IIX.
How to access the color picture profiles
Getting to the Panasonic Lumix S5II or S5IIX color profiles is easy.
On the back of the camera, press the Q button.
This brings up the Quick menu; the default selection is on the color profiles.
Next, use the front dial with your right hand to select the color profile you want to use.
The video below shows the color profile options inside the Panasonic S5, which are almost identical to the S5II and S5IIX.