Hohem iSteady MT2 Gimbal Kit Review & Tutorial
Hohem iSteady MT2 Gimbal Kit Review & Tutorial
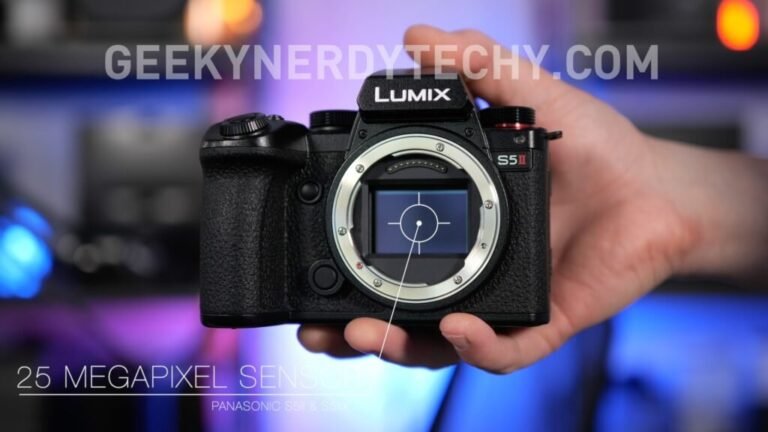
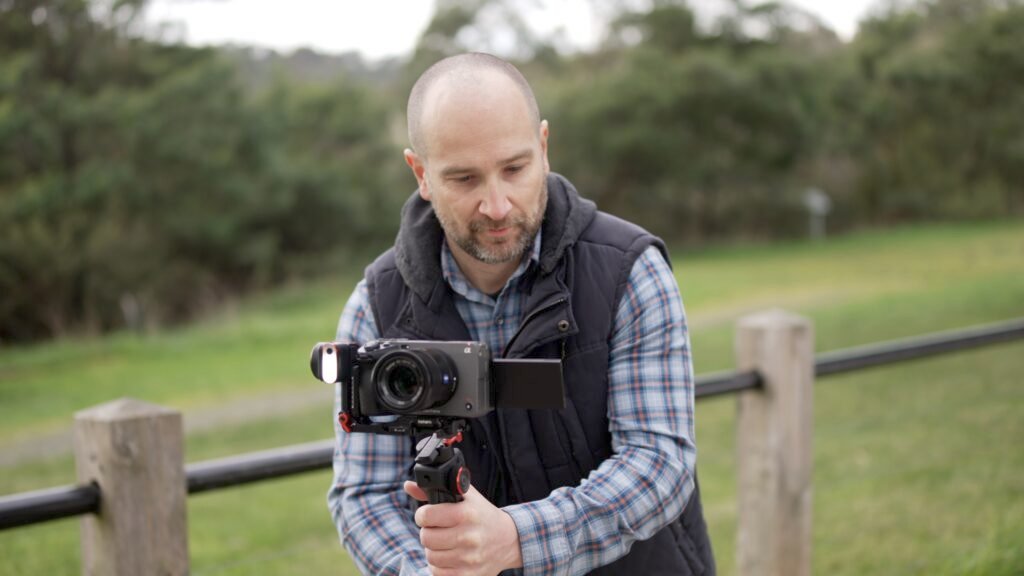
Welcome to my tech review website; my name is Shane. We are checking out the Hohem MT2 motorized gimbal kit in today’s review. This new 3 Axis gimbal is compact, lightweight, and has unique and easy-to-use AI tracking features that set it apart from most gimbals. I have tested this Gimbal with various cameras, including the Sony FX3, Sony FX30, and the LUMIX S5II.
Buy it on B&H | Walmart | Amazon AU | Amazon UK | Amazon Canada | Amazon DE
Disclaimer:
Before we get into it, I thank Hohem for sending this out for review; I appreciate it. This review will cover everything you need to know about this gimbal kit, and I’ll time-stamp each section in the description box below.
Price
The Hohem MT2 pack sells for $545 or USD 349 at launch. The Hohem MT2 can be used with mobile phones, action cameras, and mirrorless cameras, and this kit comes with all the attachments and accessories to get you started.
Maximum Payload
The maximum gimbal payload is 1200 grams 2.64 lbs allowing it to work with smaller camera and lens combinations. I had no issues using this Gimbal with my Sony FX3 and 55mm 1.8 Zeiss lens combination weighing in at 995 grams or my FX30 with the 15mm f1.4 prime coming in at 880 grams.
Furthermore, this Gimbal has AI tracking that supports hand gestures. I’ll cover more about this later in the review. I shot over an hour of footage with the MT2 and FX30 and had no issues with it wearing me down like my older and heavier DJI Ronin S. I initially thought I’d just use it for a few shots, but it was light enough to use for the entire shoot.

Gimbal Weight
The Gimbal itself is compact and lightweight, weighing in at 653 grams. With all of the attachments added, except the camera, it weighs just over 800 grams. The MT2 has a maximum payload capacity of 1200 grams, best suited for lighter and smaller camera bodies like the Sony FX30, FX3, A7C, or any of the A6600 series cameras.
The Hohem MT2 Gimbal will have no problems holding the weight of a Lumix S5II with most of the S Series of primes or the kit lens. I wouldn’t recommend using the MT2 with some of those larger full-frame zoom lenses, as the payload will undoubtedly be exceeded.
Intuitive Gimbal Design
The MT2 Gimbal itself is ergonomic and intuitive. The Joystick, wheel, screen, and Axis locks are all where you expect them to be. Having used an assortment of gimbals from other brands, I felt right at home using the Gimbal on my first try. If you’ve used another gimbal before, you’ll feel at home with the Hohem iSteady MT2.
Battery life is rated up to 17 hours, but the runtime will vary drastically under demanding situations. I shot with this for several hours and never had less than 2/3 of a full battery left. I would expect a battery life upward of 8 hours with higher-demanding scenarios.

What’s in the Box
Included with the Hohem MT2 Kit is a great quality carry case. The case is padded and has many compartments for holding all your accessories. Plenty of space if you need to throw in a few extra camera parts.
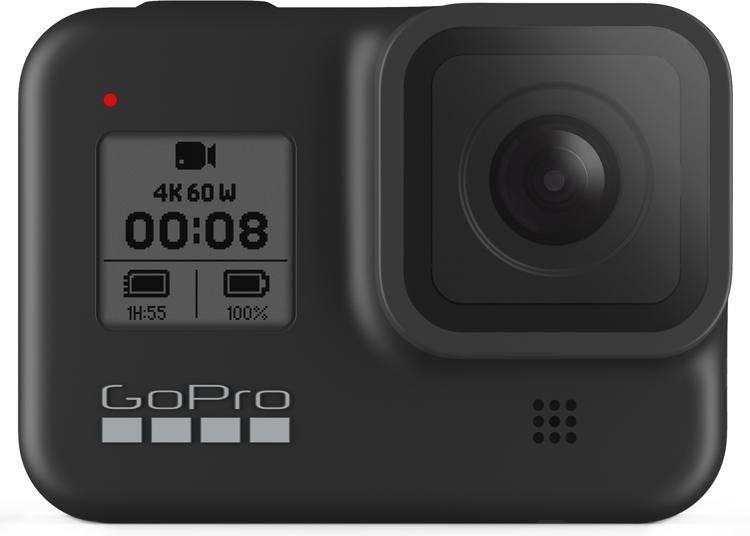
We get three different camera mounting solutions, the first is for mobile phones, the second is for action cameras like a GoPro or OSMO Action, and the third is the bracket and plate for mirrorless cameras. The build quality of the parts is great, and most of the mounts and plates are all high-quality metal.
Locks on each Axis
I love that the MT2 has locks on each axis, allowing you to move it around while it’s off to prevent your camera from spinning around. These can also assist in the initial setup of the Gimbal, but the locks need to be unlocked for proper gimbal operation.
Setting up the Gimbal is easy overall, and once you have the tripod base installed, it’ll be much easier to set up. I found it’s best to set the bottom rail first by adjusting the small screws underneath to the width of your camera. This plate can also mount the camera into a vertical orientation if you plan on creating short content for YouTube or Reels for Instagram.
Balancing the Gimbal
Once you have the length of the plate sorted, you can mount the plate to your camera. For my setup, having the plate back further helped balance everything better. This will vary depending on how front or back-heavy your lens and rig is.
With the Gimbal still off, I then unlocked the lock on the side of the Gimbal to position the camera so it freely floats in place without rotating forward or backward. Before adjusting the other, You must ensure your camera is balanced this way.
Adjusting the Cameras Height
If you need to adjust the camera’s height, you can adjust the position by unlocking it and sliding it up. Adjusting the height helps with using the selfie screen, especially for cameras that don’t have a conventional flip-out design.
You also need to adjust the position of the rail on the back. To unlock this, use the big red latch on the back. This ensures the camera won’t roll left or right. Keep your hand on the Gimbal at this time while you make the adjustments. The goal is to have the camera and lens all balanced before turning the Gimbal on.
Once you can hold the Gimbal or have it on a desk freely standing with the main three-axis locks disabled, you’re good to go.
Beeping or Error Messages on the Screen
The Gimbal is incorrectly balanced if you experience any error messages on the screen and a constant beeping sound. Most people, including myself, sometimes forget to balance all three, including the Pan, Roll, and Tilt Axis. You’ll be in business if the Gimbal is balanced correctly and you run the Auto-tune.
Unlike gimbals, you can seamlessly go between native and vertical modes thanks to the quick-release system built into the bracket. I am a big fan of how easy it is to set up or pull down the entire rig.
General Operation:
I’ll cover some general modes and operations of the Gimbal, starting with the power button and holding the power button down on the side for a few seconds to power the Gimbal up or to turn it back off. If the Gimbal is off, tap the button to see how much battery life is left on the screen. Double-tapping the trigger button enters the Gimbal, and a triple tap enters selfie mode.

Buy it on B&H | Walmart | Amazon AU | Amazon UK | Amazon Canada | Amazon DE
Main Hohem MT2 Gimbal Modes
With the power on, there are four main modes you can choose from to operate the Gimbal. PF stands for pan and follow. This is my favorite mode because it will only move left and right as you do, not up and down. The video below exemplifies PF mode as I walk backward from the model.
PTF Mode is Pan Tilt Follow mode, so the Gimbal will move tilt where it was locked in the primary mode. If you’re already experienced with this mode, go for it, but for folks new to gimbals, start with the PF instead.
“All Lock” or “L” Mode is a lock mode that keeps the Gimbal facing forward or in the direction you’re currently using.
POV mode is similar to Pan Tilt Follow but will now roll side to side.
Sports Mode is great for fast action moments where your shooting in the other modes is not fast enough. For the best setup with sports mode, use the Hohem Joy phone app.
Auto Calibration Made Easy
If you press the mode button five times, it will auto-calibrate the Gimbal for you. This adjusts the strength of the motors to suit your camera and lens combo best. I highly suggest auto-calibrating your Gimbal each time you set it up for the best results. Without it, you can see micro-shakes in the corners of the footage, and the auto-calibration fixed this problem.
The Joystick can be used to control the pan or tilt manually. The Joystick is velocity based, so if you move it only a hair, it will be slower than a hard push in any direction. Feel-wise, the Joystick is great and gives you a familiar experience if you’ve ever shot with a gimbal.
You can also control some mobile functions using the zoom lever for phone users. This lever lets you focus, take photos, or start filming with various button presses. The lever on the side controls the zoom for the camera phone. This is great because you won’t need to keep tapping the phone screen while operating the Gimbal.
Mirrorless Camera Compatibility
Thanks to the cable or Bluetooth control, you can pair this with many cameras from Sony, Canon, Nikon, Panasonic, and FujiFilm. The control wheel can act as a focus wheel, CCT/RGB switch, and Roll Control.
Hohem iSteady MT2 Phone App
If you download the Hohem Joy app for your phone, you can control the Gimbal remotely fully. The app also allows you to set up a Timelapse option and to adjust the motor speed and sensitivity of the motors.

Awesome Magnetic AI Tracker and Tracking Features
How does one properly balance the Gimbal and avoid error messages on the screen? Now let’s cover the magnetic AI tracker. This is such a great feature! This can be used to follow a subject easily if you are new to using gimbals, but it can also be used in a solo content creator capacity. Place the Gimbal on a tripod or table, and use the “OK” hand gesture to initiate tracking and the STOP gesture to stop tracking.
This AI Tracking makes getting dynamic behind the scene shots possible, and once it initiates tracking, it does a great job of keeping up. I found this is much easier to use with a 24mm or wider field of view lens. This AI tracking allows you a full 360-degree pan with a tilt of 290 degrees.
Framing Tip for AI Tracking
You also need to make sure you’re correctly framed in the shot. Otherwise, it might end up auto-framing a bit low. Leave yourself some headroom, and you’ll be good to go. The AI tracker accessory snaps require additional Bluetooth or Wifi connectivity! How cool this is!

LED Light
The LED light can be turned on by using the button located on the wheel. The LED light has two modes which are CCT and RGB. CCT is your typical light color, great for regular shooting. Additionally, an RGB mode can cycle through the Red, Blue, and Green spectrum. Each light mode has a brightness control that can be set anywhere from 1% to 100%.

Hohem iSteady MT2 Pros and Cons Review
Let’s cover the pros and cons starting with what I like about it. The setup, user experience, AI tracking, and reliability are great. I have no complaints when it comes to the setup process and usability.
The modes feel responsive, and the motor strength is strong enough to handle up to the maximum payload. My only small nitpick is that it felt like if the Gimbal was turned off overnight, I would have to run the auto-calibration again for the best performance.
I noticed a few shots where it looked shaky, but after calibrating it again, it performed fine. This Gimbal will do great for folks shooting on a smaller setup like a Sony FX30, ZV-E10, Panasonic G9, or GH5II.
Double-check the weight of your camera and lens combination and ensure it falls under the 1200-gram limit. Thanks to the AI sensor, this is a great little gimbal, and I can see myself using it for travel shoots and solo filming. The sensor works surprisingly well; it’s a very impressive technology.
Phone and action camera users will appreciate the MT2 kit. If you upgrade to a Mirrorless Camera, you’ll still own a capable gimbal. Check out the Hohem MT2 kit using the links below, and I’ll see you in the next review.
Buy it on B&H | Walmart | Amazon AU | Amazon UK | Amazon Canada | Amazon DE