Short Film Guide: Shot using the Panasonic S5II
Short Film Guide: Shot using the Panasonic S5II
I shot a short film using my Panasonic LUMIX S5II late last year. This was a Halloween special that I posted on my guitar channel. While shooting a short film can be challenging, it’s very rewarding and enjoyable, and I encourage anyone who’s thought about doing it to give it a go.
While I’ve made a few thousand YouTube videos for myself and others, I haven’t shot too many short films, and this most recent one was by far the easiest and most organized. This video will cover the entire process, from the camera gear, lenses, audio, color grading, and editing.
If you’ve been thinking of shooting a short film, I’ll give you some tips and ideas to make the process for your idea a lot easier. Consider this my guide to shooting a short film. Let’s get into it.
Short Film Tutorial Video
Get the LUMIX S5II Here B&H| Amazon AU | Amazon UK | Amazon Canada | Amazon DE
Concept
Let’s start with the concept and idea. I wanted to create something fun and relatable for the guitar audience and anyone who grew up watching the classic 80s or even 1970s horror movies.
Coming up with the concept can sometimes be the hardest part. I love so many horror movie tropes, but the “Lost in the Woods” one is not only moody but also the cheapest and easiest to make.
After brainstorming some more ideas, I thought it might be fun to find a guitar I wanted “in the woods.” This guitar would cause some serious issues once I started playing it, so it was some possessed guitar concept with elements of the Lost in the Woods thing. I thought it was a cheesy but solid idea to start storyboarding.
Budget
To say this was a low-budget production is an understatement. The goal was to put something together that didn’t need anything elaborate or expensive. With the camera gear I already owned aside, we spent about $50 on props, including a few scary masks, horror blood, and lunches for the two shooting days.
Shopping at any discount store will get you amazing props for short films, whatever the genre; they have masks, costumes, and all sorts of cool bits and pieces to jazz up your set. The glass skull and zombie repellent bottle were purchased at the store for only a few bucks.
Storyboarding
After that, I started thinking scene by scene in chronological order. I used a bullet point list to write down the broad idea and then started storyboarding the ideas on paper. I am a visual thinker, and having the concept of the bullet points allowed me to start the storyboarding process knowing I knew the plot. This short film was lighter on dialog, so I could start putting scenes into storyboards.
A quick guide to storyboards is to visualize the shots with a wide or tighter field of view in mind – it helps you during this process and makes shooting much easier. Add arrows where you want things to happen or shots you want on a scene, and make notes. I also found it a great idea to add arrows to each board if there was either a second or third camera shot required or if we were walking or facing a certain direction to the camera. This was my second time storyboarding a short film, and this one felt a lot easier than the first.
Storyboarding is arguably the most important part of the process, so do it. It’ll save you a lot of time, and if you’re working with someone else, it can help them visualize the ideas.
Dialog
There wasn’t a lot of dialog in this film, and I wanted to make it feel as natural as possible for both of us. Since I am not an actor, I wrote ideas like “You mention there’s a garage sale” and “I’ll ask if we should go.” I also wanted to reference other movies in this short film, so I noted when and where that dialog would occur.
I would shoot any talking scenes with a wide and tighter focal length. This would allow me to pick and choose which shot worked best in editing and punch in or out to create a sense of production value.
Camera Gear
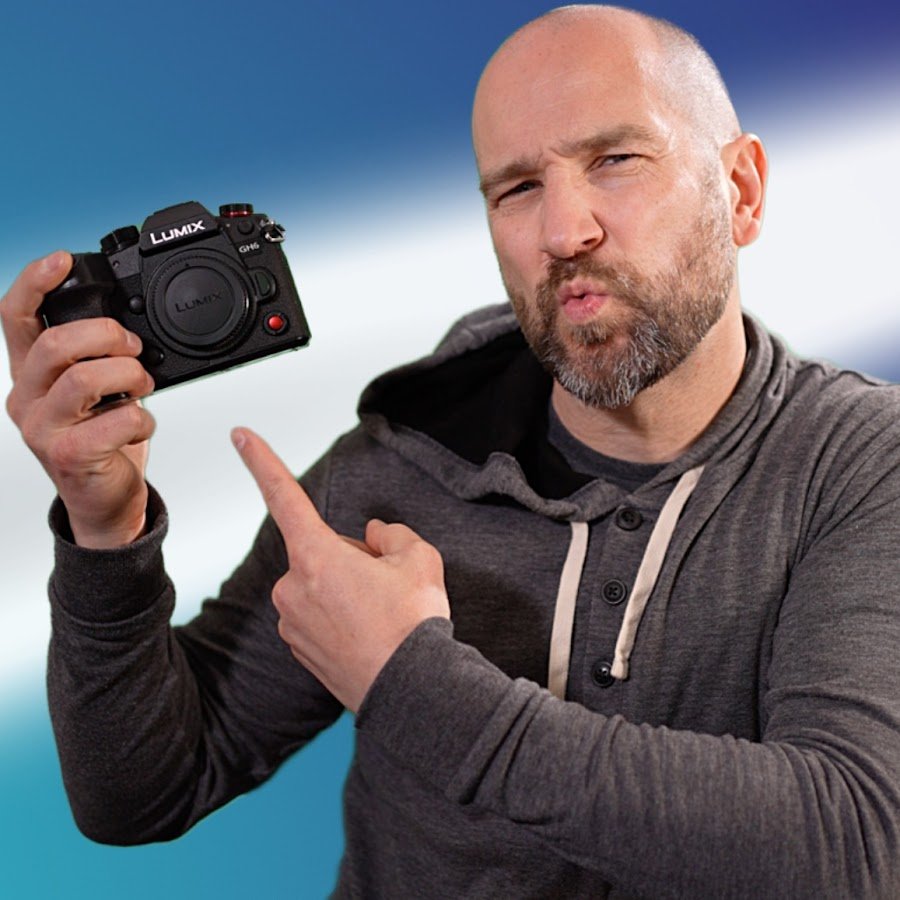
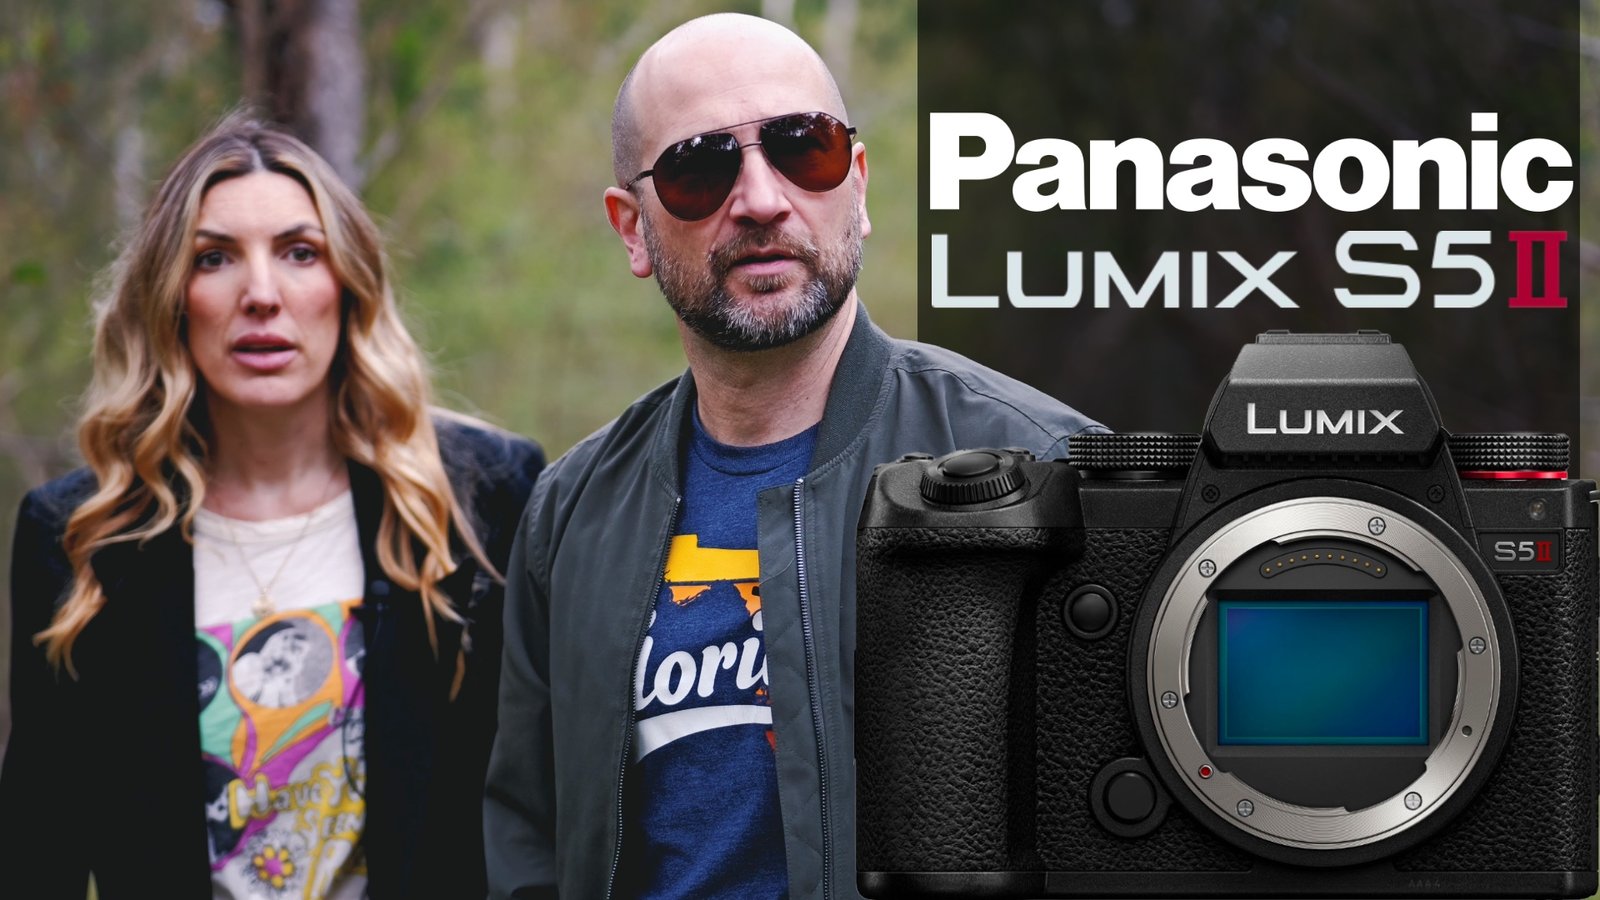
Let’s discuss the camera gear, starting with the Panasonic S5II (see my review). This camera did such a great job. I wanted to shoot with this over my Sony FX3 as the primary camera for a few reasons, one of which was the Stabilisation. The IBIS in the S5II is so good that you can give it to someone with far less camera experience, and the result looks professional. The IS Boost Mode can mimic a tripod when shooting handheld, and the high-resolution video is impressive.
Aspect Ratio 17×9 DCI-4K
While the final output of this project is a standard DCI-4K 17×9 aspect ratio, I could shoot in 6k 17×9, which helped for the few shots I had to crop in on. This was also 4:2:0 10-bit, so it was very easy to edit, and I could see all of my clip thumbnails on my computer, which helps when sorting files.
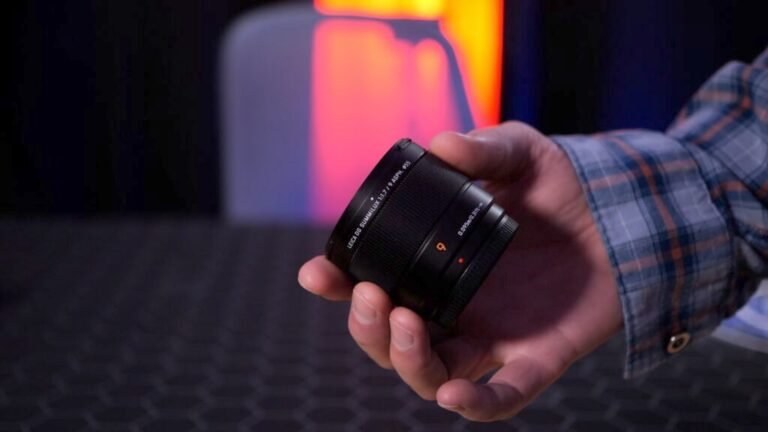
The three main lenses we used were 50mm F1.8 for 80% of the film, 24mm F1.8 for the car scenes, and 35mm for a few additional shots where the 50mm was too tight. These lenses have no focus on breathing issues, and I love how the background blur looks.
Autofocus or Manual Focus
Unlike what you hear on YouTube, we shot much of this with Autofocus… Why? You may ask. We were a two-person crew, and autofocus made life much easier for us. If one of us wasn’t operating the camera, the tripod was doing the work. The static shots intermixed with handheld footage created the illusion of a camera operator, and the result came out great.
Sure, having a third person would have been easier, but it also creates more stress, so a tripod and autofocus can help when producing low-budget short films like this.
I was going to shoot this in VLOG to customize the result completely, but I ended up shooting the entire thing on the CineLikeD2 profile with the contrast and saturation pulled back a hair so I could grade it faster later. If you are new to the Panasonic LUMIX S5II, please check out my S5II color profile guide.
In hindsight, I should have used the flat profile, but the CineD gave me enough flexibility to get the look I wanted in editing. The entire video was shot using Aperture priority mode, and the camera did a great job exposing the outdoor scenes, even in mixed lighting conditions.
Using Multiple Cameras – Helpful, but not essential.
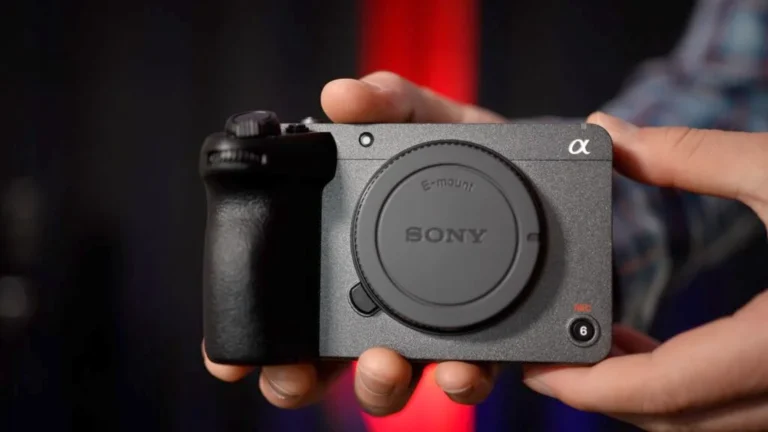
The only other camera we used was the Sony FX3 for some slow-motion dream sequence shots. I wanted to shoot this using 4K100p, and it’s something the Panasonic S5II can’t do. We only used one lens on the FX3, the 24mm F1.4 G Master lens.
This created a wide and dreamy look, and after some creative color grading, I got the look I was hoping for. At the time, the FX3 didn’t have DCI-4K, so I had to crop in on the 4K image with the 17×9 aspect ratio—and it looked great. The slow motion on the FX3 is so good, and it did a great job for this task. The color profile of choice on the Sony was S-Cinetone because it was very similar to the CineLikeD2 on the S5IIX.
Lastly, we used a GoPro Hero 9 or 10 for the car scenes. We had one outside the car and another on the back window for the driving shots. Sure, the GoPro shots don’t have the same niceness as everything else, but they worked for the story and to create a sense of effort or production value.
Audio Pack
Regarding audio, we used two audio packs, the Godox MoveLink II MK2 and the Rode Wireless Go. We had some Lav mics attached to our shirts or jackets, and the audio came up fine. The mics weren’t super-concealed, but it didn’t matter much to us because this was a fun project. We’ll discuss the audio effects and music later, so stay tuned.
Lighting
The Lighting setup was simple.
I used some Ulanzi RGB Lights to create funky colors inside the house, and the lightning effect was thanks to my Pixel P80 LED Panel, one of the best things I have ever purchased. I was sent one out to test a long year ago and bought two more; they are fantastic.
Everything else was natural lighting, thanks to the sun. Due to the mixed lighting, I left the camera on Auto White Balance, and it did a great job maintaining the correct color in all situations.
The filming Process
Let’s cover the filming process. Most shots follow a standard combination of establishing, tight, and close-up shots. We ensured we followed the storyboarding before adding anything that wasn’t on the sheet, and if the storyboard shot wasn’t right or didn’t fit, we’d do a similar thing from a different angle.
Most of the talking scenes were shot with wide and tight focal lengths, which allowed me to cut the shots in editing to look like a single take and make them visually more interesting. It also gave us enough time and take to get something we were both happy with. When both were in the shot, we used one person as framing and followed a second take-up with hand-held shots for coverage.
Editing a Short Film
Editing a short film took much longer than most regular review videos, but the process is straightforward. I work with Final Cut, but the tips I’ll share with you can work with any editor. I usually edit one scene per project and combine them all at the end. This means if something goes wrong, I don’t have to try to fix a big timeline of events, and it also makes the undo process a lot easier if you need to control Z.
The first thing I do is set up scenes in Final Cut that allow me to put the correct clips in order so I don’t have to try and remember what is what later. Editing and file sorting is easiest when it’s fresh in your mind to know what clip is what. I also manage my files in folders, so if I can’t find something in Final Cut, it’ll be under the scene’s index on the library manager.
Once I have the clips in the right timeline, I adjust the audio levels of the voices so I don’t have to do that again after adding music. The voices should be the loudest part of the audio—or at least the clearest—and then you can adjust the audio levels in the timeline around them.
This is a lot easier than adding all your effects and music and then going back to fix the audio levels of the actors. Do this first; it’ll save you the headache of trying to do it afterward.
Free Sound & Music Library for Short Films
The third thing I usually do is cut the scenes in order and experiment with music and sound effects per scene. This meant going into the YouTube audio library and pulling great-sounding music for each scene. This process of picking the right songs for the job is trial and error, so download anything you like the sound of and see if it fits the mood. Finding the right tracks for the scenes took me over an hour or more, but it’s worth it.
Most people don’t realize that YouTube also has a sound-effects library. I covered all the main sound effects, including wind, car doors, low-frequency thuds, thumps, and zip noises, all from YouTube. I used a handful of sounds from Final Cut’s free library, but that was it. If you use the search tool, you can find a lot of great sounds and music—and it’s all 100% free—give it a shot.
Color Grading Your Short Film
Once I had each scene in the timeline and the music applied, I started thinking about color grading. I think of color grading pretty simply: If the scene is low-tension or light in its overall tone, stick to standard colors. Once the film gets eerie or scary, the tone of the color grading changes. There’s no hard-and-fast rule, but I got a look and was happy indoors and out.
Transitions are usually kept to a minimum unless they add something to the story – like a fade to black or to convey a sense of time. Nearly all the transitions are hard cuts except for a handful of scenes added to the story. I wanted to separate this from your typical YouTube video and keep it more in line with any short film or horror film I had as a reference.
The editing ties it all together, so spend as much time as you need scene by scene. Try to cut out as much as possible, moving the story forward. We shot several scenes that never made the Final Cut because it didn’t move the plot forward. In simple narrative stuff like this, keep it moving!
Finalizing the project
Finally, I finalize each scene, proof it several times, and mark it as finished. Once I complete the rest of the scenes, I can go back in, add some titles and credits, and then copy each edited scene to a new master timeline. At this point, I’ll add any transitions that need to be added from scene to scene or if they fade to black.
I usually run a compressor and limiter to the master file. You may or may not need this but if the audio is low, a compressor will help balance out the volume. If you’re adding your video to YouTube, try to make the best thumbnail you can for it about what your audience is used to. If you’re new to uploading, create a great thumbnail and title. Then add some info in the description so YouTube can recommend it to people watching other similar videos. If you want to watch my fun Halloween video, I’ll link it to the description box. Thanks for reading and watching! Comment on my YouTube video if you have any questions or comments.
